Why does my audio sound muffled or bad?
Nine times out of ten it is the room and the mic, not the camera. Reflections, distance and a lost top end smear your voice into mush. Here is what muffled actually is, and how to get the clarity back.
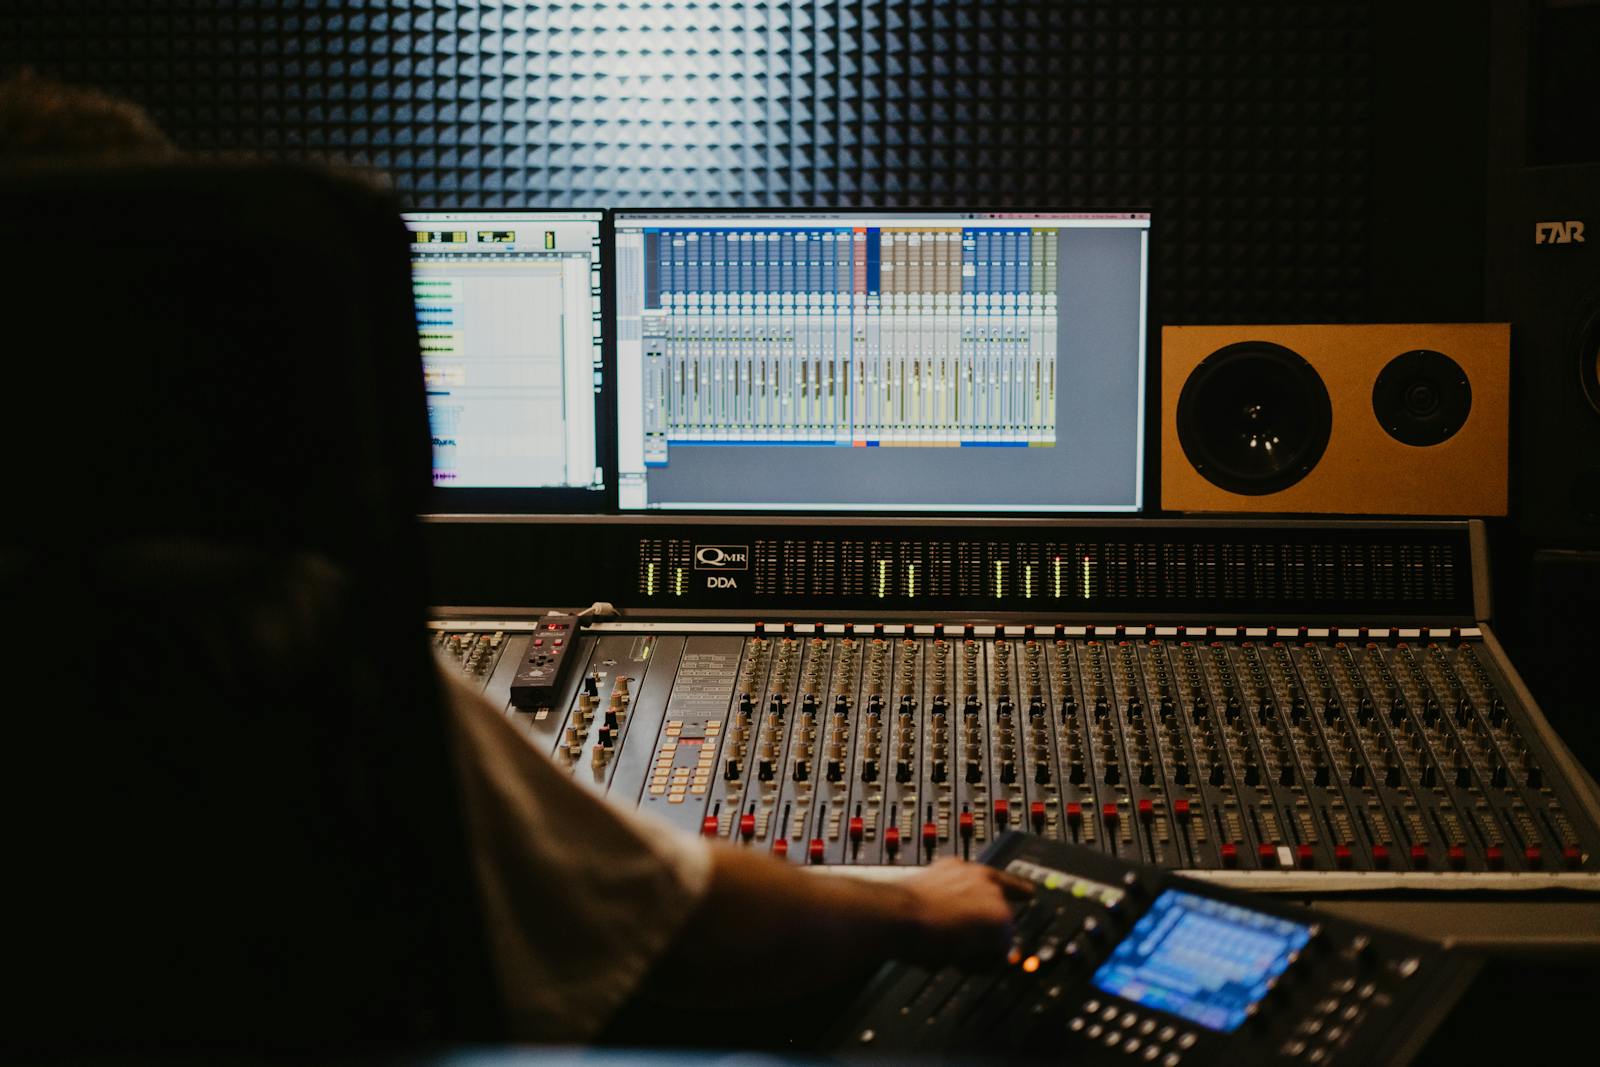
By Thomas, founder of CutScore · Published · Updated

I have published videos that sounded like I recorded them inside a sock. The words were all there, the levels were fine, and yet the voice sat behind a blanket. For a long time I blamed the camera. The camera was innocent. Muffled is not a volume problem and it is rarely a gear problem. It is a frequency and a distance problem, and once you hear it that way it stops being mysterious.
Here is the plain physics. Your voice has body in the low and mid frequencies and clarity in the highs, the consonants and breath that sit above about 3 kHz. Muffled means those highs went missing. When the top end drops away, the brain still understands you, but everything feels thick, distant, like speech through a wall. Restore the highs and the same take suddenly sounds present. Nothing else changed.
So the real question is not "why is my audio bad," it is "where did my high frequencies go." There are only a handful of usual suspects, and they are almost all things you set up before you hit record. Bad audio is built at the source, not discovered in the edit. Let me walk through where the clarity actually leaks out.
What makes audio sound muffled or bad.
Six causes account for nearly every muffled, boxy or "cheap" voice track. Find yours in this table, then jump to the fixes below.
| Cause | What it does to the sound | The quick tell |
|---|---|---|
| Mic too far away | Reflections overtake the direct voice, so it goes distant and roomy. | arm's length+ |
| Hard, bare room | Sound bounces off walls and adds a boxy echo that blurs every word. | tiled, empty |
| Mic pointed wrong | Aimed at your chest or the desk, it loses the crisp top end of speech. | off-target |
| Something over the mic | A thick foam cover, a pocket, or a hand muffles the highs at the source. | covered |
| Background noise | Fans, traffic and hum fill the gaps and mask the clarity of the voice. | steady hiss |
| Heavy compression on export | A low audio bitrate crunches an already weak track into something worse. | worse after upload |
CutScore listens to your track, measures the room, the top end, the noise floor and the loudness, and tells you which of these is actually dragging your voice down, with the timestamp.
Fix it at the source, then in the edit.
1. Move the mic close, and aim it at your mouth
This one move fixes more muffled audio than every plugin combined. Get the mic within a foot of your mouth, ideally a hand-span away, and point it at the gap between your nose and your lips rather than at your chest. Closer means more direct voice and less room, which is the whole game. If you are using a lav, clip it high on the chest and clear of rustling fabric. If you are on a phone, you are talking into a pinhole at the bottom edge, so do not cover it and do not hold the phone at arm's length while you narrate.
2. Soften the room you are recording in
A bare room is a drum. Every hard surface throws your voice back at the mic a few milliseconds late, and that smear is what reads as boxy or hollow. You do not need acoustic panels. A room with a rug, a sofa, curtains and a bookshelf already sounds half-treated. In my experience the fastest free fix is to record facing soft stuff, not a blank wall, and to put something absorbent behind the mic. Recording into a corner of a wardrobe full of clothes is a genuinely good trick, and it looks ridiculous, and it works.
3. Bring the high frequencies back with EQ
If the take is already recorded and still sounds dull, this is where you rescue it. Add a gentle high-shelf boost starting around 3 kHz to 5 kHz, a few decibels, no more. That is the band where consonants and air live, so lifting it makes speech crisp again. While you are in there, a small cut around 300 Hz to 500 Hz removes the boxy "in a tube" thickness that often rides along with muffling. Go easy. Over-boosting the highs turns muffled into harsh and sibilant, which is the other way to make people reach for the volume.
4. Clean the noise, then set the loudness
A muffled voice often hides under steady noise, so run a light noise-reduction pass to pull the floor down, but stop before the voice starts sounding underwater. Then, and only then, set your loudness. Normalise the cleaned-up mix toward −14 LUFS for YouTube with a limiter holding the true peak at or below −1 dBTP. A clear voice at the right loudness sounds professional. A muffled voice cranked loud just sounds like a loud blanket, so do the clarity work first and the loudness last.
Here is a real CutScore report for an everyday talking-head video: the audio scored, the muffling flagged, with timestamps and the exact fixes.
If you only fix three things.
Most of the jump from "muffled and amateur" to "clean and trustworthy" comes from these three. Do them in order.
It is probably not your camera, or the upload.
A quick myth-clearing, because these two send people shopping when they should be moving a mic. First, the camera. Unless your camera mic is genuinely broken, the lens and sensor have nothing to do with muffled voice. The on-board mic is just a small mic that happens to live three feet away on a hot piece of metal, so it captures exactly the distant, roomy sound we have been describing. A cheap external mic six inches from your mouth will beat a flagship camera's built-in mic in every room on earth.
Second, the upload. People hear their audio sound worse after posting and assume the platform muffled it. Re-encoding does compress your audio to a lower bitrate, and it can add a little crunch, but it does not muffle clean audio in any way you would notice. What it does is punish a track that was already weak. If your voice arrived muffled or clipped, compression makes the flaw louder, not the voice. Export clean, keep peaks at or below −1 dBTP, and the platform has nothing to ruin. The before-and-after problem is one of many things CutScore checks in a single pass.
Frequently asked.
Stop publishing muffled audio.
CutScore listens to your track, finds where the clarity leaked out, and tells you exactly what to fix, with the evidence to back it up. Join the waitlist for early access.
You’re on the list.
We’ve noted your email. You’re in line for priority access and a free report when early access opens.