Why is my video audio so quiet?
Almost always for one reason: the mix was never normalised to a loudness target, so the platform left it where it was. Here is why quiet audio happens, and the two numbers that fix it for good.
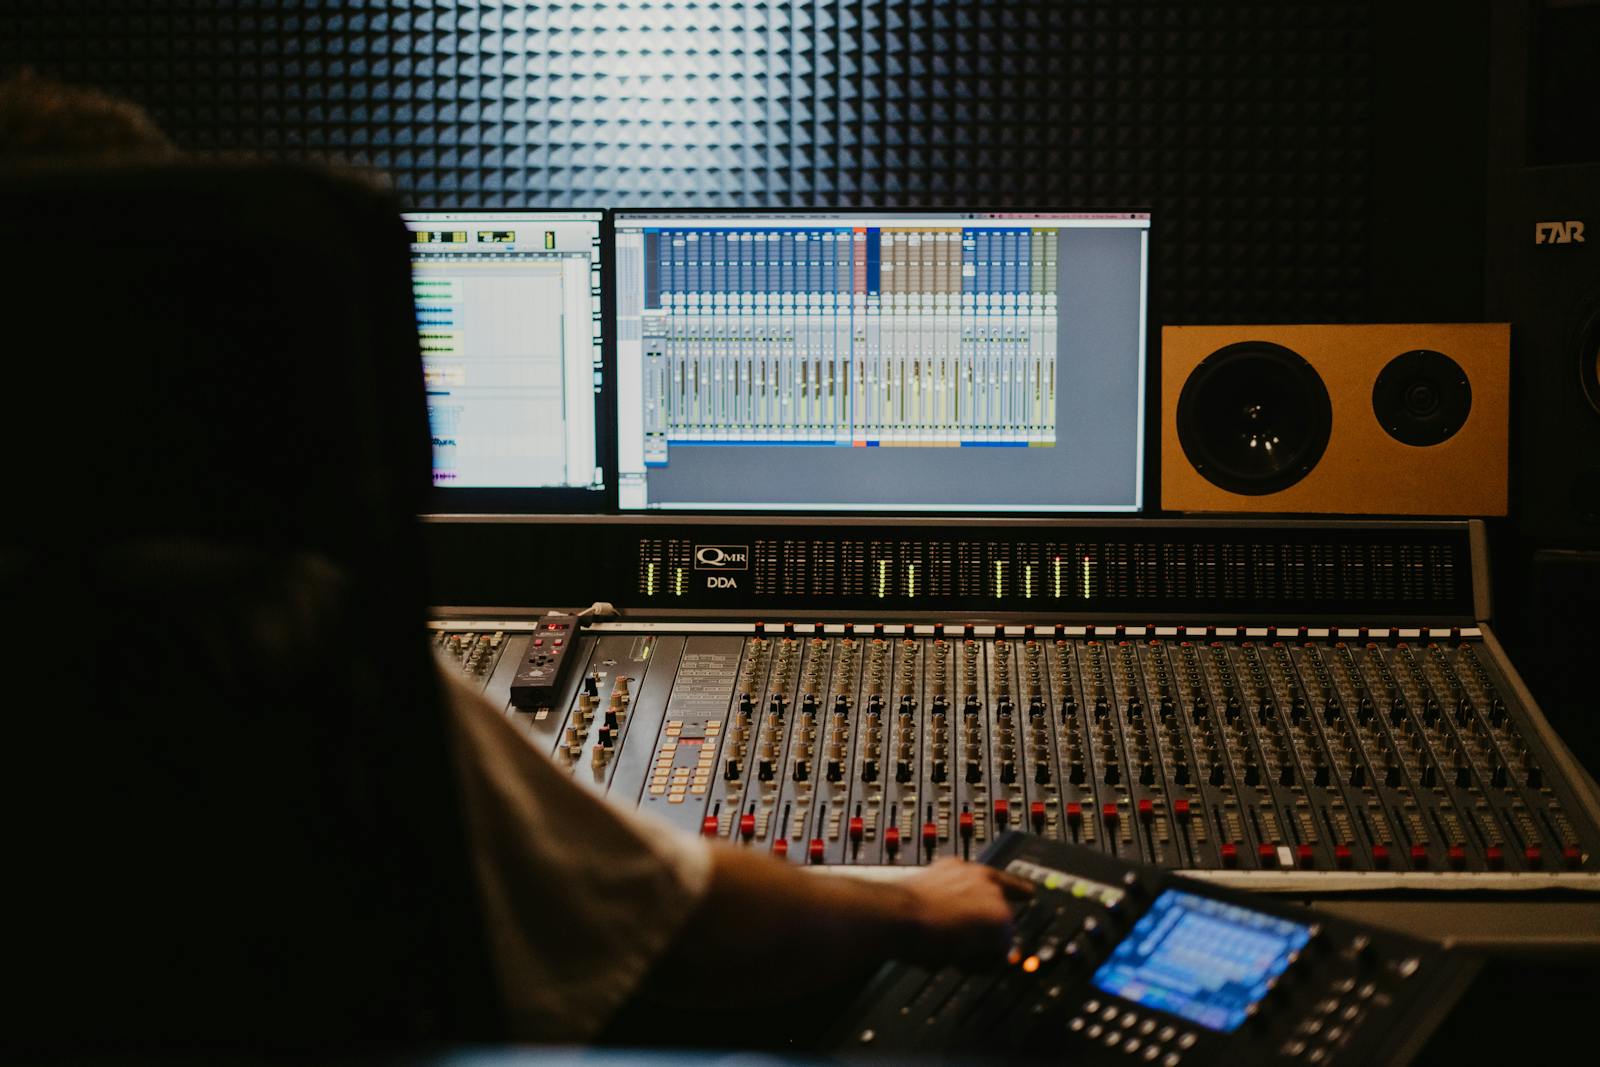
By Thomas, founder of CutScore · Published · Updated
I have shipped quiet videos. More than I would like to admit. The take sounded perfect in my headphones at 11pm, then I watched it on my phone the next morning, on the train, and I could barely hear myself over the rattle of the carriage. The audio was not broken. It was just timid. And timid is its own kind of broken once your video has to survive in a feed full of louder ones.
Here is the chain that gets almost everyone. You record carefully, keeping the level low so a sudden laugh or a door slam does not clip and ruin the take. Smart move. Then you edit, you cut, you add music, and you export. Nowhere in that chain did anyone tell the software, "bring the whole thing up to a normal loudness." So the file leaves your machine at the cautious level you recorded it, which is roughly where the problem starts.
Then the platform finishes the job of making you quiet. YouTube, TikTok and the rest measure the loudness of every upload and pull the loud ones down to a shared target. They do not push the quiet ones up. Think about what that means. If your export is below the line, nothing rescues it, and the next creator who did normalise sounds twice as confident as you for free. Loud is not the goal. Consistent is.
Why is my video audio so quiet? The five real causes.
Quiet audio is rarely one big mistake. It is usually one of these, and most of them have nothing to do with how much you spent on a microphone.
| Cause | What the meter shows | The fix |
|---|---|---|
| No loudness target set | ≈ −22 LUFS | Normalise the full mix toward −14 LUFS before you export. This is the big one. |
| Recorded too conservatively | peaks near −20 dB | Fine to record low; just raise the loudness in the edit instead of leaving it. |
| Mic too far from you | low signal, high noise | Move it closer. A near mic gives you level to spare without amplifying the room. |
| Platform turned you down | loud peaks, low average | A few hot moments made the platform duck the whole track. Even it out, then normalise. |
| Monitoring too loud | meter, not ears | If you edit at high volume, everything sounds fine. Trust the LUFS meter, not the dial. |
Ears adapt and headphones lie. CutScore puts a real EBU R128 meter on your export and tells you the exact gain change to hit the target, before you upload.
The two-number fix, step by step.
1. Measure where you actually are
You cannot fix a number you have not read. Drop a loudness meter on your finished timeline and look at the integrated, or program, loudness in LUFS. If it reads around −20 to −24 LUFS, there is your answer: you are roughly six to ten decibels below the −14 LUFS target YouTube normalises toward. That gap is the whole reason your video sounds quiet next to the one that played before it. Write the number down before you touch anything.
2. Tame the peaks before you lift
Before raising the average, deal with any spikes. A single loud laugh or a hand clap near the ceiling will clip the moment you push the whole mix up. Put a limiter on the master with the ceiling set so the true peak stays at or below −1 dBTP. That one decibel of headroom matters, because platforms re-encode your audio and lossy compression can nudge peaks slightly higher than your file shows. The limiter catches the rogue moments so the rest of the mix can come up cleanly.

3. Normalise the whole mix to −14 LUFS
Now raise the average. Most editors have a loudness normalisation step, sometimes called "match loudness" or "normalise to LUFS", and you point it at −14 LUFS for a talking video. It lifts the entire mix evenly so the quiet parts and the loud parts keep their relationship, instead of crushing everything into a wall of sound. If your tool only offers peak normalisation, that is not the same thing; peak normalisation looks at one loud sample, while loudness normalisation looks at how loud the whole thing actually feels.
4. Keep your voice on top of the music
Quiet voice and present music is a different problem that feels like the same one. If your speech is buried, the answer is not "make everything louder", it is "make the music quieter under the talking." Pull the music down four or five decibels when you are speaking, then let it breathe in the gaps. Loudness normalisation will not save a mix where the balance is wrong, so fix the relationship first, then set the target. The order matters more than people expect.
5. Check it on the worst speaker you own
This is the step I skip when I am tired and the step I always regret. After you export, play the file on a phone speaker at a normal volume, in a room with some background noise. Can you hear every word without leaning in? Good. If you are still reaching for the volume button, your meter and your ears disagree, and the ears win, because that is what your viewers actually have. The meter gets you to the target; the worst-speaker test confirms you got there.
Here is a real CutScore report for an everyday vlog: loudness, true peak, voice-versus-music balance and noise, each scored with timestamps and the exact gain change to make.
If you only do three things.
Most quiet-audio complaints disappear after these three moves. Do them in order and you will sit at the same volume as everyone else in the feed.
Quiet audio costs you the view before quiet picture does.
Here is the thing I had backwards for a long time. I worried about my picture, my colour, my framing, the soft shot at 0:40. Meanwhile the audio was the first thing pushing people away, and I could not hear it because I was too close to the project. People will forgive a slightly soft shot. They will not lean in to hear you. If they have to reach for the volume in the first three seconds, a chunk of them just leave, and you never find out why.
In my experience, a correctly normalised mix is the cheapest upgrade in all of video. It does not need new gear, it does not need talent, it needs a meter and one export. A clean, on-target voice reads as "this person knows what they are doing" before you have said anything clever. Quiet audio reads as the opposite, fairly or not. That is a lot of judgement riding on one number you can fix in two minutes, which is honestly good news.
Frequently asked.
Never ship a quiet video again.
CutScore measures your loudness and true peak against the right target and tells you the exact gain change, with the evidence to back it up. Join the waitlist for early access.
You’re on the list.
We’ve noted your email. You’re in line for priority access and a free report when early access opens.