What loudness should Instagram Reels be?
Instagram turns loud audio down so the feed stays even, which means hot masters buy you nothing. Master your Reel near −14 LUFS with peaks under −1 dBTP, and here is exactly how to hit that and keep the voice on top.
By Thomas, founder of CutScore · Published · Updated
Instagram has never published an official loudness number for Reels, and that silence is why the question keeps coming up. So people guess. Some master as hot as a music single, then wonder why their Reel sounds crushed and brittle. Others master far too quiet, then wonder why their clip feels weak the instant the next one autoplays. Both are reacting to the same hidden mechanic: the feed evens everybody out.
Here is the part that trips people up. Instagram applies playback loudness normalisation, the same broad idea YouTube and TikTok use. It measures how loud your clip is and nudges the playback level so your video does not blast or whisper relative to the one before it. That is great for viewers and slightly annoying for creators, because it means the loudness you exported is not necessarily the loudness people hear.
So the real question is not "how loud can I make it." It is "what target survives normalisation cleanly and still sounds full." For short vertical video in 2026, that target lives right around −14 LUFS, with a strict peak ceiling underneath it. Let me show you why that number, and how to actually land on it.
What loudness should Instagram Reels be?
Two numbers carry almost all the weight: an integrated loudness target and a true peak ceiling. Hit both and your Reel sounds at home in the feed instead of fighting it.
| What to set | Target to hit | Why it matters for Reels |
|---|---|---|
| Integrated loudness | ≈ −14 LUFS | Full and confident, and it survives Instagram's downward normalisation without sounding crushed. |
| True peak | ≤ −1 dBTP | Leaves headroom so the upload re-encode does not push a peak over and add crackle. |
| Voice vs music | voice clearly on top | On phone speakers, buried speech is the fastest way a Reel reads as amateur. |
| Short-term spikes | controlled, no slamming | A drop or a laugh that jumps 10 dB above the rest is jarring on a small speaker. |
| Silence at the start | none | A quiet first half-second reads as a dead Reel before the audio even arrives. |
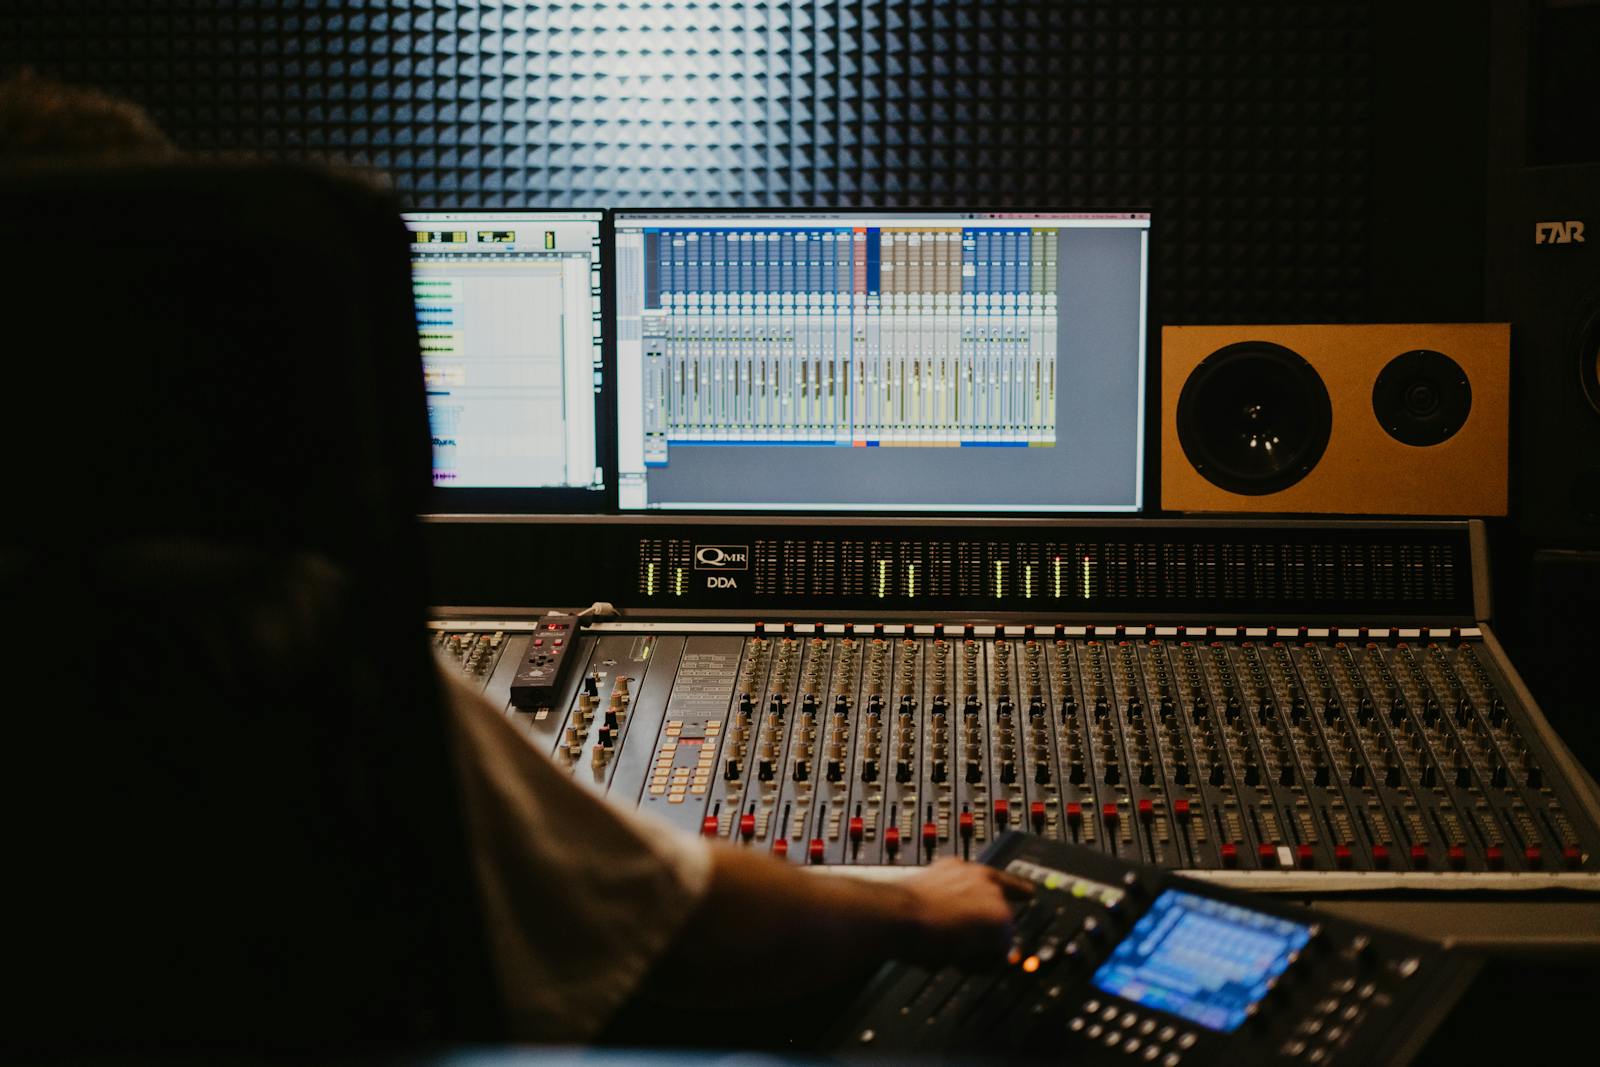
Reading a loudness meter on every Reel gets old fast. CutScore measures your integrated loudness and true peak, compares them to the target, and tells you the exact gain change to make.
Hitting −14 LUFS without guessing.
1. Measure what you already have
You cannot fix a number you have not read. Drop your finished Reel onto a loudness meter that reports integrated LUFS, the one that measures the whole clip rather than the moment. Most editors have one built in now, and there are free meters if yours does not. If it reads −19 LUFS, you are quiet and the feed will make you feel quieter. If it reads −9 LUFS, you are slamming and Instagram is about to turn you down. Read first, then act.
2. Move the whole mix, not just the peaks
Integrated loudness is about the average energy of the clip, not the single loudest spike. So if you are too quiet, raise the gain of the entire mix, then re-measure. A loudness normalisation tool does this for you: tell it −14 LUFS and it shifts the level to land there. The part people forget is the ceiling. After you raise the level, confirm your true peak still sits at or below −1 dBTP. If it crept over, a true peak limiter on the master pulls it back without making the whole thing quieter.
3. Win the voice-versus-music fight first
Loudness is the last thing you set, not the first. If your music is sitting on top of your voice, raising the whole mix to −14 LUFS just makes the problem louder. So before you touch the master level, pull the music down four or five decibels under the speech, and duck it further whenever you are actually talking. This is the same trap I describe in why your music ends up louder than your voice, and it is the single most common reason a perfectly loud Reel still sounds amateur.
4. Check it on the worst speaker you own
Studio headphones lie to you in a flattering direction. Most of your audience is on a phone speaker the size of a fingernail, sometimes on a bus, sometimes with a thumb half over the grille. So play your final Reel through exactly that: your phone, no headphones, at a normal volume. Can you understand every word over the music? Does the loud moment make you flinch? If yes, fix it now. For the wider picture, see how to check your audio levels before uploading.
5. Export, upload, then listen to the published version
This is the step everyone skips and then regrets. Instagram re-encodes your audio into a lossy format on upload, which is the moment a peak sitting right at 0 dBFS can tip over into crackle. That is the whole reason for the −1 dBTP ceiling. Export your Reel, post it, then play the live version back in the app, not the file on your desktop. If the published version distorts on loud moments, your peaks were too hot, and you can read more in how to know if your audio is clipping.
Here is a real CutScore coaching report: loudness and true peak measured, the voice-versus-music balance flagged, with timestamps and the exact gain changes.
If you only fix three things.
Most of the jump from "thin and quiet" to "this sounds professional" comes from these three moves. Do them in this order.
Frequently asked.
Stop guessing your loudness.
CutScore measures your Reel's loudness and true peak, flags the voice-versus-music balance, and tells you the exact fix, with the evidence to back it up. Join the waitlist for early access.
You’re on the list.
We’ve noted your email. You’re in line for priority access and a free report when early access opens.