What is a good audio level for voice in a video?
Your viewers forgive a soft shot. They do not forgive a voice they have to strain to hear. Here are the real numbers for voice level, the targets I actually use, and how to hit them without owning a single plugin you cannot pronounce.
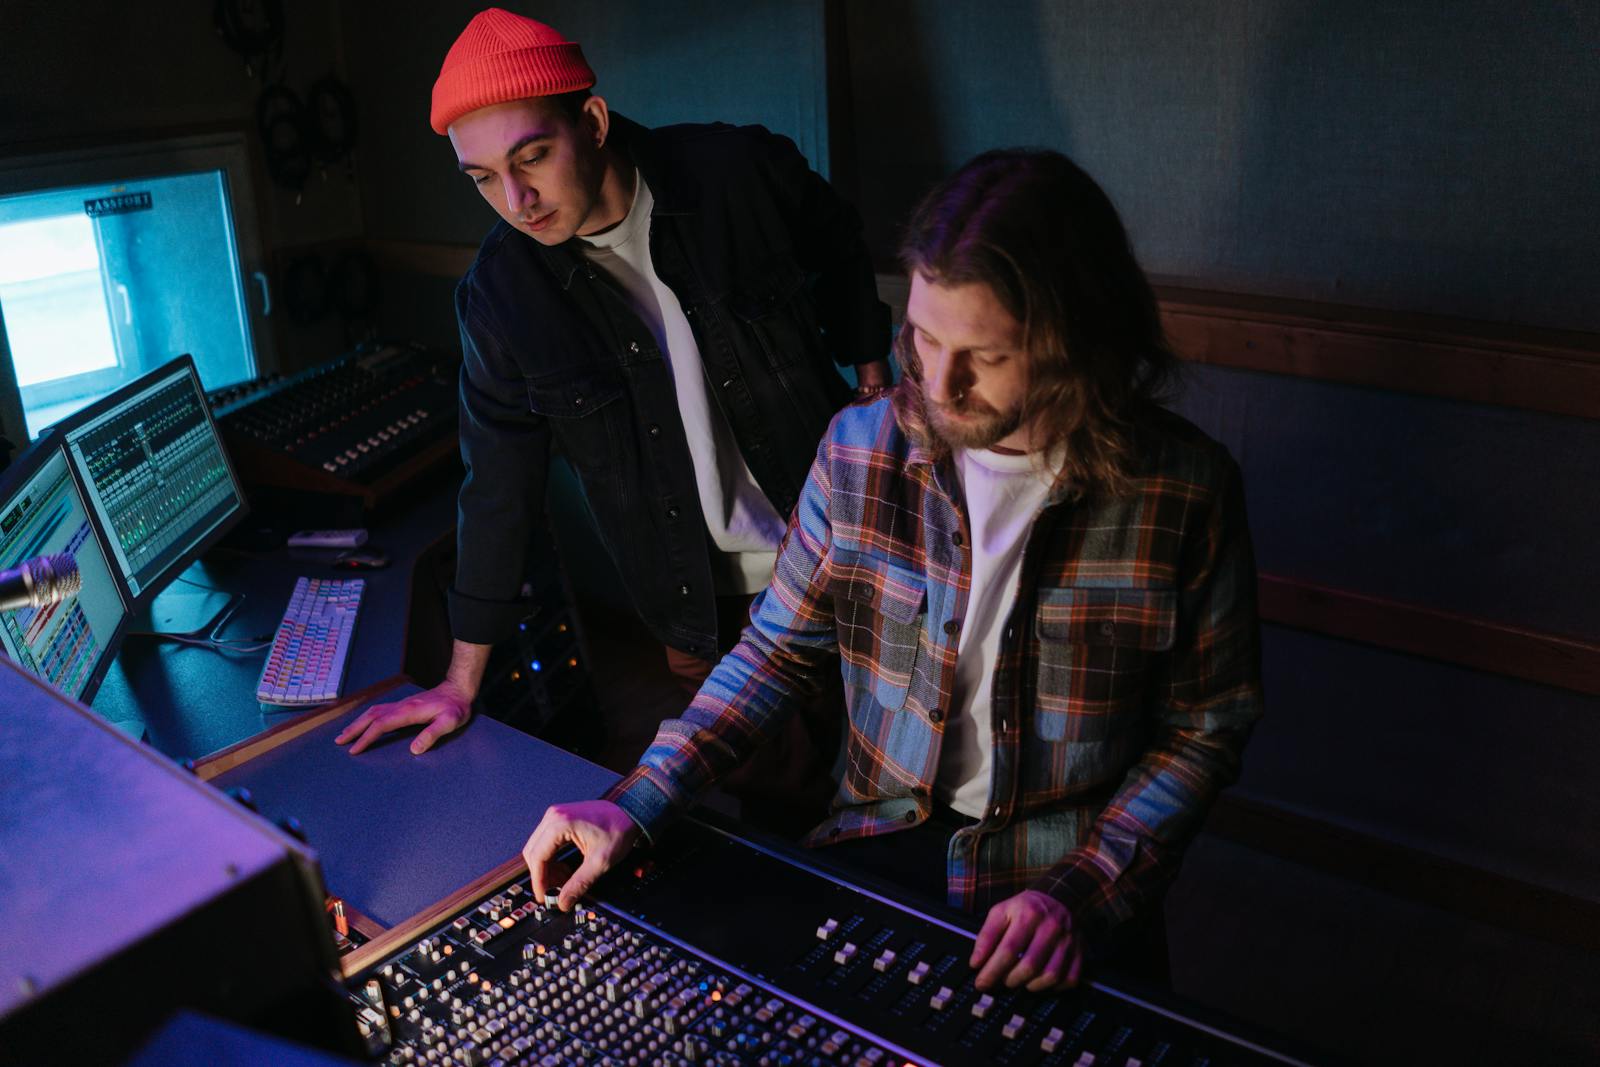
By Thomas, founder of CutScore · Published · Updated

There is a reason "what is a good audio level for voice" has no single, clean answer floating around. The number you grew up with, the one your editor shows on its meter, is dBFS, and dBFS measures peaks. It tells you how close your loudest spike is to zero, which is the point where digital audio distorts. Useful, but it says almost nothing about how loud your voice actually feels.
Two voices can peak at the exact same level and feel wildly different in loudness. One is a calm, steady narration that sits at a consistent level. The other is a whispered intro with three shouted words that spike to the top. Same peak, very different experience. That gap is why platforms stopped caring about peaks and started measuring loudness instead, in a unit called LUFS, which roughly tracks how loud a human actually perceives the sound over time.
So the honest version of the answer needs both. A peak target so your voice never clips, and a loudness target so it sits at the right perceived level next to every other video in the feed. I have shipped videos that nailed one and ignored the other, and they sounded amateur either way. The fix is knowing which number does which job.
The voice level targets I actually use.
Four numbers carry almost all the weight. Hit these and your voice will sound clear, present and roughly as loud as everything else people are watching.
| What to measure | Target for voice | Why it matters |
|---|---|---|
| Integrated loudness | ≈ −14 LUFS | The perceived loudness of the whole video, matched to what YouTube normalises toward. |
| Short-term voice level | −16 to −12 LUFS | Where your dialogue should sit while you are actually speaking, moment to moment. |
| True peak | ≤ −1 dBTP | The ceiling that stops the voice crackling after the platform re-encodes the file. |
| Voice over music | +4 to +6 dB | How far the voice should sit above the background track while someone speaks. |
| Dialogue peaks (dBFS) | −12 to −6 dBFS | A rough peak-meter range that leaves headroom and keeps you off the zero line. |
Reading loudness, true peak and the voice-to-music balance by hand on every video is a chore. CutScore measures all three in one pass and tells you the exact gain change to make.
How do I get my voice to the right level?
1. Record with headroom, not at full tilt
Set your recording level so your normal speaking peaks land around −12 to −6 dBFS, with your loudest moments staying off zero. People hear that range and panic that it looks quiet on the meter. It is meant to. You want room above the voice for the louder moments, because once a recording clips at zero, the distortion is baked in and no plugin can rescue it. Quiet-but-clean beats loud-but-clipped every single time. You can always raise a clean recording later. You cannot un-clip one.
2. Even out the dynamics with light compression
A raw voice swings a lot. You lean in, you lean back, you get excited, you trail off. Compression gently squeezes that range so the quiet words come up and the loud ones stay in check, which makes the whole thing sit at a steadier, more present level. Use a modest amount: you are smoothing the voice, not crushing it into a flat wall. Done well, the listener never notices it, they just notice they can hear every word without reaching for the volume.
3. Normalise the finished mix toward −14 LUFS
Once the voice is recorded clean and lightly compressed, the last step is loudness. Run a loudness meter over the finished mix and nudge the master gain until the integrated reading sits near −14 LUFS for YouTube. This is the number that decides whether your video feels confident or timid next to the one that autoplays after it. If you upload at, say, −20 LUFS, the platform turns it up to match, but it also drags up your noise floor with it, so a quiet, clean mix is not the same as a quiet, dirty one.
4. Set a true-peak ceiling at −1 dBTP
Before you export, put a limiter on the master with its ceiling at −1 dBTP. Here is why that extra decibel matters: when the platform compresses your audio into AAC, the encoding process can push peaks slightly higher than they were in your file. A track that peaked at exactly 0 in your edit can end up over the line after upload, and that is where the crackle comes from. Leaving a decibel of true-peak headroom keeps the voice clean through the squashing. It costs you nothing audible and saves you a re-upload.
5. Duck the music under the voice
The voice level can be perfect and still get buried. Whenever someone is speaking, the music should drop so the voice sits roughly 4 to 6 dB on top of it. The cleanest way is sidechain ducking, where the track automatically dips the instant the voice comes in and rises again in the gaps. No sidechain plugin? Just automate the music volume down under every line by hand. Music drowning the voice is the most common amateur tell in the whole feed, and it is entirely a mixing decision, not a gear problem.
Here is a real CutScore coaching report for an everyday talking-head video: loudness, true peak and the voice-to-music balance, scored, with timestamps and the exact fixes.
If you only fix three things.
Most of the perceived jump from "homemade audio" to "this person knows what they are doing" comes from these three. Fix them first.
By ear, by meter, or in one pass.
By ear, on the worst speakers you own
Free, and a real test. Play the video on a single phone speaker, not your studio headphones. If you can hear every word clearly over the music, you are close. The catch is that ears adapt: after an hour in the edit, quiet starts to sound normal, so test fresh or on someone else's video.
With a loudness meter
Accurate and honest. A LUFS meter reads integrated and short-term loudness, and a true-peak meter catches the −1 dBTP ceiling. The cost is time and knowledge: you have to know the targets, open the meter and read it correctly on every video. Great if you enjoy this. Most people do not.
With a coach in one pass
Hand the file (or a link) to CutScore. It measures integrated loudness, true peak and the voice-to-music balance against the right target for your platform, then gives you a 0 to 100 score with timestamped evidence and the exact fixes. No meters to read. See a sample report.
Frequently asked.
Stop guessing whether your voice is loud enough.
CutScore measures your integrated loudness, true peak and voice-to-music balance, then tells you the exact decibel changes to make. Join the waitlist for early access.
You’re on the list.
We’ve noted your email. You’re in line for priority access and a free report when early access opens.