What is a good pre-publish video checklist?
A real checklist has targets you can hit, not vibes you can feel. Here is the one I run before anything goes out: five groups, in order, with the number to aim for and what it costs you if you skip it.
By Thomas, founder of CutScore · Published · Updated

I used to publish on feel. The edit looked good in the timeline, I was tired of it, so out it went. Then a week later I would rewatch on my phone and notice the audio was quiet, the captions were half off the bottom of the screen, and the first ten seconds were me clearing my throat. None of that was a skill problem. It was a process problem. I had no checklist, so I checked nothing.
A checklist exists because you are the worst judge of your own video, and not for lack of taste. You watched every frame thirty times. Your brain filed the quiet sound under "normal" and the green skin tone under "fine." Your laptop speakers flatter bass that is not really there, and your screen at full brightness makes an underexposed shot look beautifully lit. By export, you are not watching the video. You are remembering it.
So the point of a list is to replace looking with checking. Looking is a vibe. Checking has targets, and targets do not care how tired you are or how many times you have seen the cut. The good news: the targets are short, mostly boring, and almost entirely under your control. Here is the whole thing.
The pre-publish video checklist, item by item.
Five groups, eleven items. Print it, screenshot it, tape it to your monitor. Every line has a target you can hit and a real cost if you skip it.
| Check | Target to hit | What it costs you if you skip it |
|---|---|---|
| Loudness | ≈ −14 LUFS | Too quiet and the video feels weak next to everything else in the feed. |
| True peak | ≤ −1 dBTP | Hot peaks crackle and distort after the platform re-encodes your file. |
| Voice vs music | voice on top | Music burying the speech is the single most common amateur tell. |
| Exposure + white balance | neutral, not clipped | Dark or green footage looks unfinished, like a raw clip nobody graded. |
| Focus | subject sharp | Soft footage reads as a mistake, not a stylistic choice. |
| Stabilisation | no drift or jelly | Shake and rolling-shutter wobble pull attention off what you are saying. |
| Pacing · shot length | fits the genre | Too slow and the scroll wins; too frantic and the viewer gets tired. |
| First 3 seconds | one reason to stay | Most of your drop-off happens right here, at the very start. |
| Captions + safe zones | readable, in-frame | Roughly half your audience watches on mute, so text is the video. |
| Aspect ratio | matches the platform | A 16:9 clip squeezed into a 9:16 feed wastes most of the screen. |
| Export · res / fps / bitrate | to platform spec | Wrong settings turn a clean edit soft and blocky after upload. |
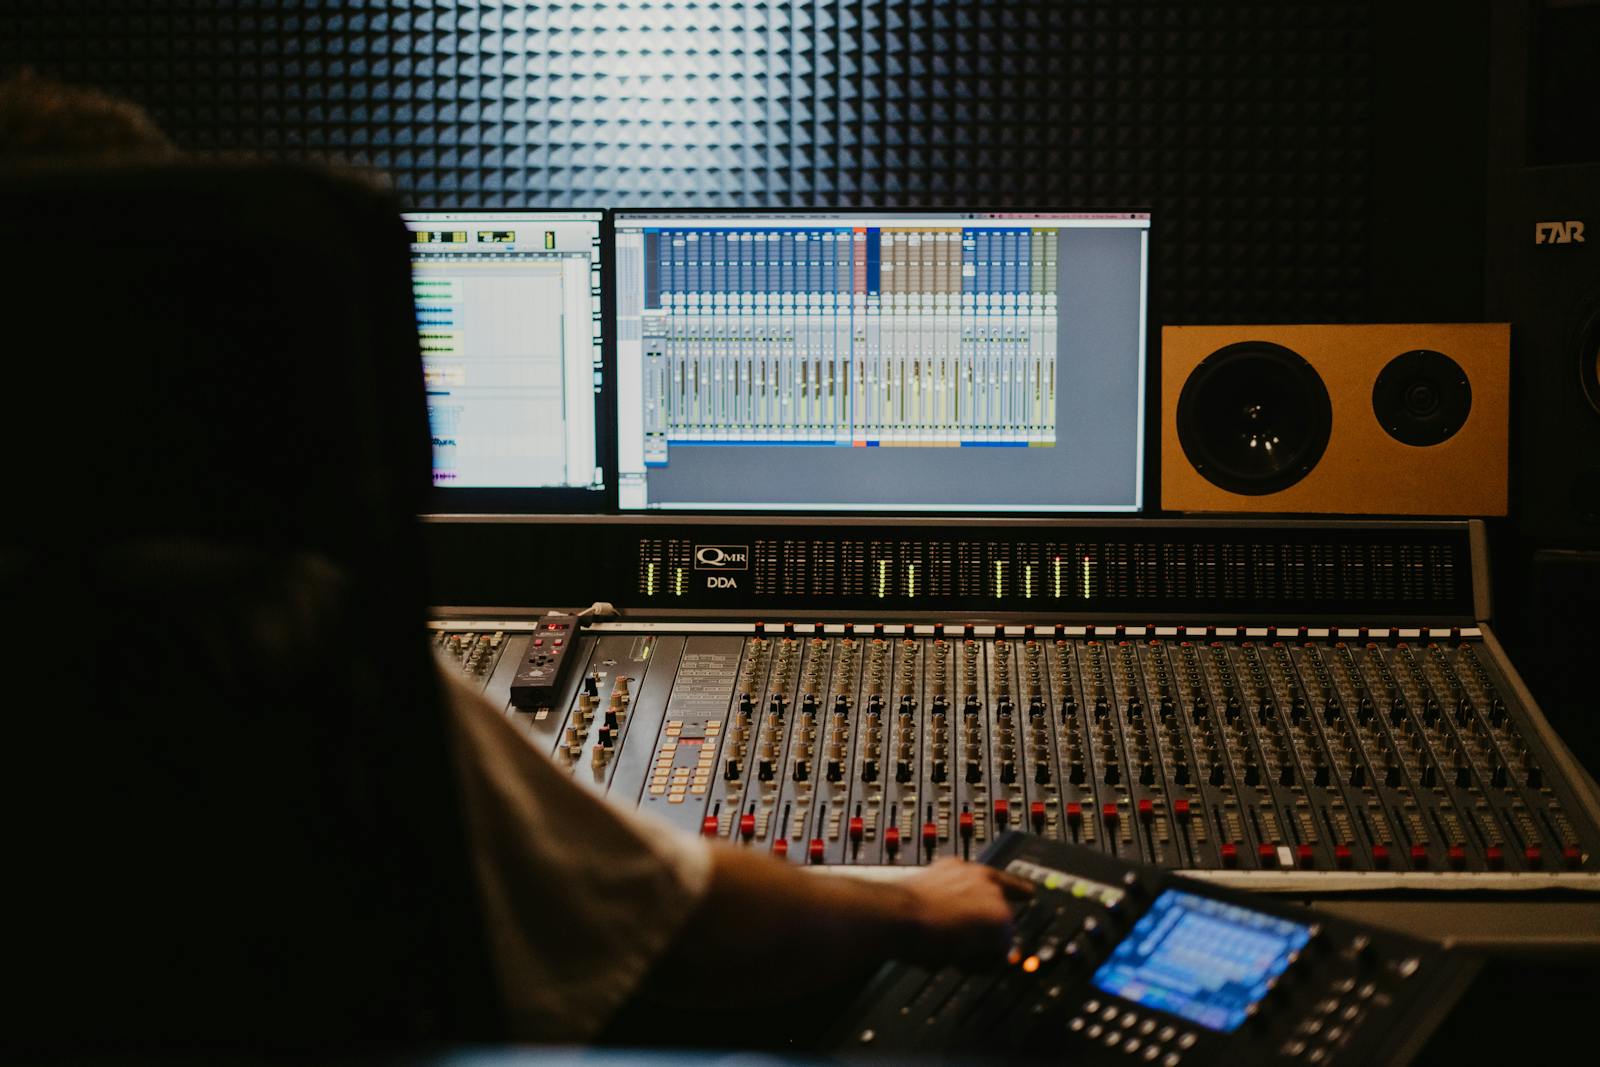
Eleven items on every video adds up fast. CutScore runs the whole checklist in one pass and hands back the fixes, so you can spend the time editing instead of inspecting.
Five passes, loudest problem first.
1. Sound: the pass that loses the most viewers
Start here, because people forgive a soft shot but they will not forgive bad audio. Two numbers carry most of it. Loudness, which you want near −14 LUFS for YouTube so your video does not feel timid next to the next one in the feed, and true peak, which you keep at or below −1 dBTP so nothing crackles once the platform squashes your file. Then listen on the worst speakers you own. If you can still hear every word clearly over the music, you pass. If the music is winning, pull it down four or five decibels and stop being precious about it.
2. Image: exposure, colour and focus
Drop your screen brightness to something normal, not the heroic level you edit at. Look for two failures: shadows gone solid black with no detail, and highlights (a window, a white shirt) blown to pure white. Then confirm your whites look white and not blue or orange. If skin looks like it belongs to another species, your white balance drifted. Last, check focus on the subject, not the background. This whole family, from exposure to colour to sharpness, is a big part of what we analyze, because it is the first thing a viewer reads before they hear a single word.
3. Editing: pace and the hook
You have seen your edit so many times it feels fast to you. It probably is not. The clearest single number for pace is average shot length: how long a shot holds, on average, before you cut. A tutorial can breathe; a short cannot. Then watch your first three seconds as if you were thumbing past it in a feed. Is there one clear reason to stay, or do you open with a logo sting and a throat-clear? If a section drags, that is usually one shot held three seconds too long, repeated twenty times. The honest test: would you keep watching this if it were not yours?
4. Text: captions and the safe zone
Roughly half your viewers are on mute, so for them the captions are the video. Read them on a phone, held at arm's length. If you squint, the font is too small or the contrast is too low. Then check the safe zone: text drifting into the bottom of a vertical video gets covered by the platform's caption, like button and username. Bigger text, a solid backing behind it, and keep everything inside the frame the platform actually shows. While you are listening, count the filler words too. A few "ums" are human. A dozen a minute quietly tells people you are not sure of yourself.
5. Export: the boring last step that undoes good work
This is the one nobody screenshots and everybody regrets. Match the platform: 16:9, 9:16 or 1:1 for the aspect ratio, 1080p or 4K for resolution, the frame rate you actually shot at (commonly 24, 30 or 60 fps), and a healthy bitrate. Export, upload, and then watch the published version on the actual app, not the file on your drive. Platforms re-compress everything, and a clip that looked crisp on your desktop can arrive soft and blocky. If it looks worse after upload, your export settings are the suspect, not your camera.
Here is a real CutScore report for an everyday video: every item on this checklist, scored, with timestamps and the exact fixes.
If you run only three lines.
Most of the jump from "homemade" to "this person knows what they are doing" comes from these three. If the full list is too much before a deadline, do these.
By eye, by meter, or in one pass.
By eye and ear
Free, and better than nothing. The catch is the one we opened with: your senses adapt, and your gear flatters. Works best on someone else's video, or yours after a day away from it. Use the table above so you are testing against targets, not against how you feel today.
With scopes and meters
Accurate and honest. A loudness meter, a waveform, a scope for exposure, a safe-zone overlay. The cost is time and knowledge: you have to know every target, open several tools, and read them correctly for each video. Great if you enjoy this part. Most people do not, every single time.
With a coach in one pass
Hand the file (or a link) to CutScore. It runs every item against the right standard for your genre, then gives you a 0 to 100 score with timestamped evidence and the fixes. No scopes to read, no targets to memorise. See a sample report.
Frequently asked.
Run the whole list in one pass.
CutScore runs this entire pre-publish checklist for you and tells you exactly what to fix, with the evidence to back it up. Join the waitlist for early access.
You’re on the list.
We’ve noted your email. You’re in line for priority access and a free report when early access opens.